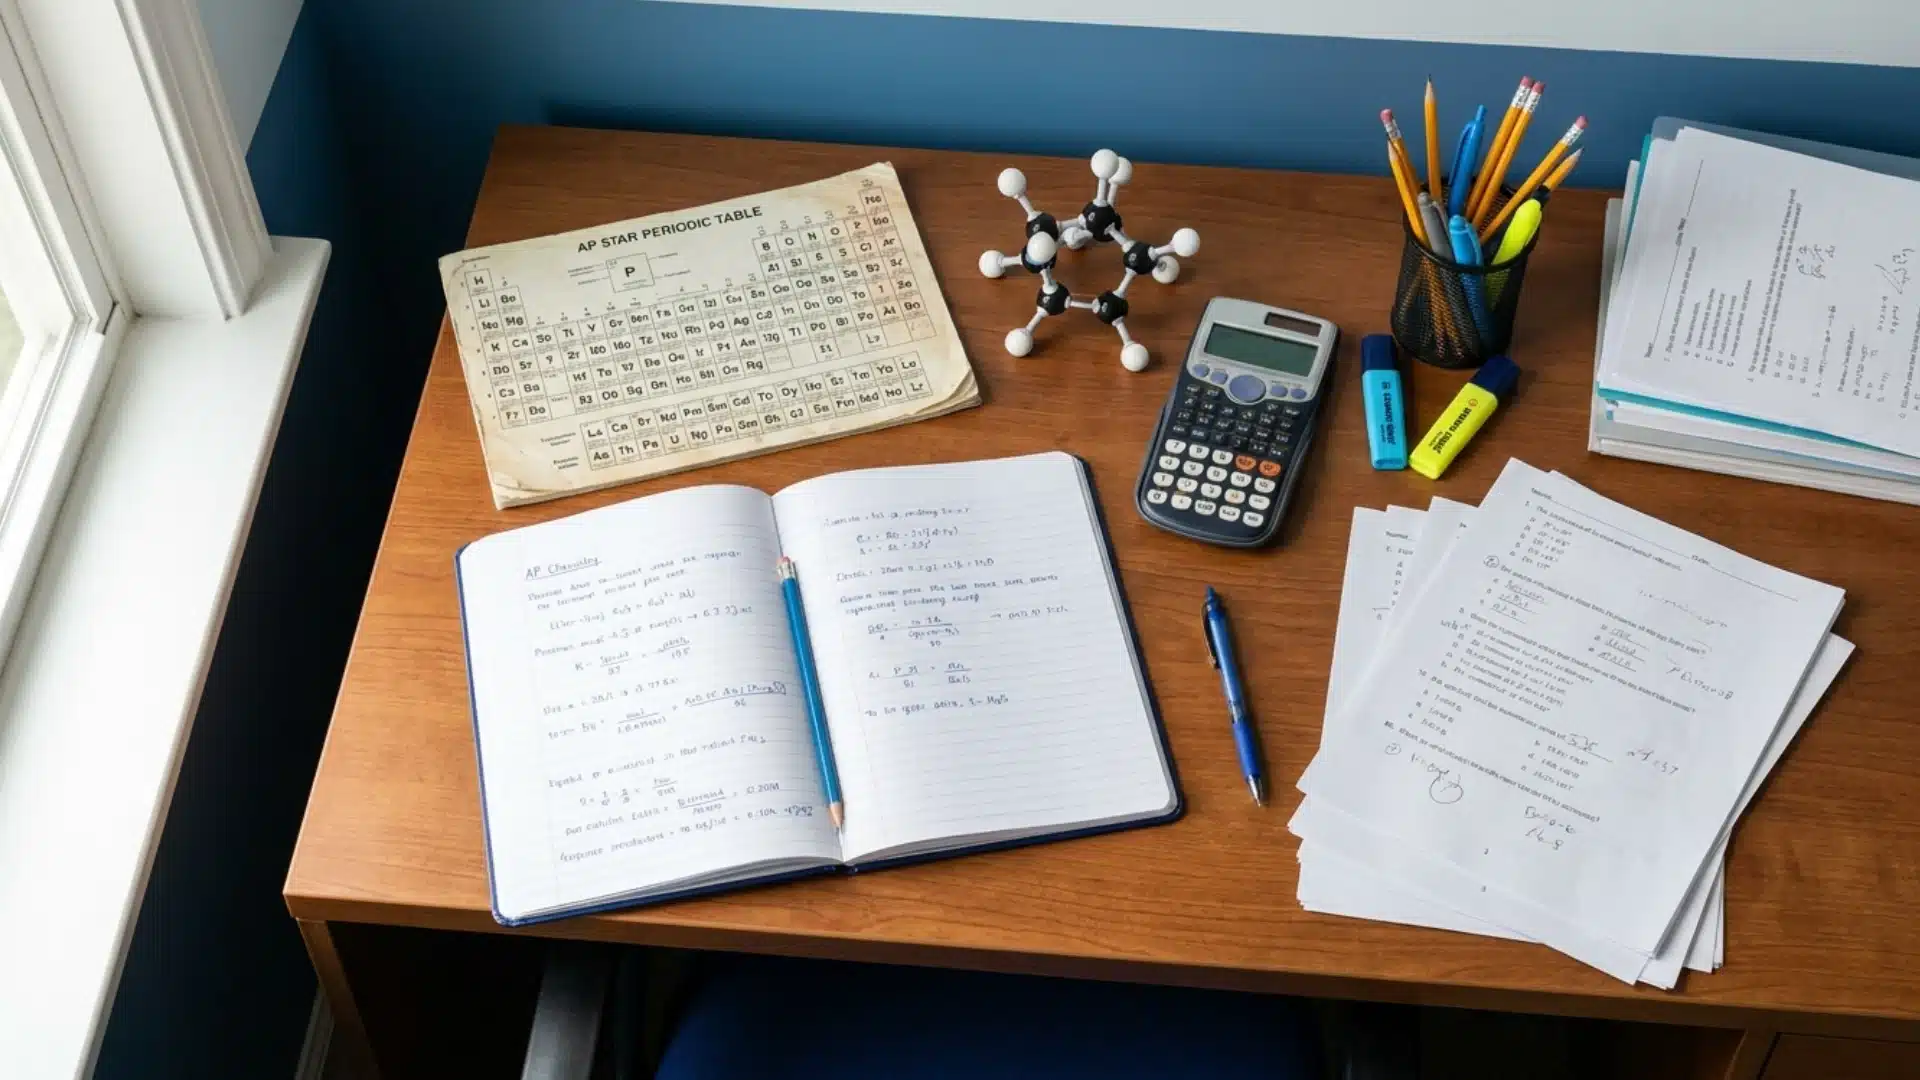


Cramming the night before a test rarely works out well.
Learning how to create a study plan can change that. It turns last-minute effort into steady, regular progress.
A good plan gives every study session a clear, specific purpose. It shows what to study, when to study it, and for how long.
Without one, effort gets scattered, and motivation tends to drop. With one, small daily steps quietly add up over time.
This blog covers how to build a plan that actually sticks starts with a few simple steps.
Why Having a Study Plan Makes Learning Easier
A study plan turns scattered effort into steady progress, while without one, most students resort to last-minute cramming.
This initially undermines memory retention and increases stress just before exams.
A structured schedule spreads material across days or weeks, giving the brain time to retain information.
It removes daily guesswork about what to study next, reducing decision fatigue and anxiety. Many students ask how long to study daily, and a plan answers this by mapping realistic time blocks to specific topics.
The result is calmer, more consistent progress instead of panic-driven study sessions.
Before You Create a Study Plan, Know Your Starting Point
Before building a study schedule, it helps to know exactly where things stand. Take a look at these areas first:
Take a quick self-test or review past scores to see where you actually stand.
List areas that consistently cause confusion or take longer to grasp.
Mark the exact date so you know how many days or weeks you have.
Go through the full list of topics to make sure you don’t miss anything.
Checking these boxes first means the plan fits the actual gaps instead of guesses.
It also saves time later, since you won’t have to redo a schedule that was never built on the right information.
How to Create a Study Plan: Step-by-Step Guide
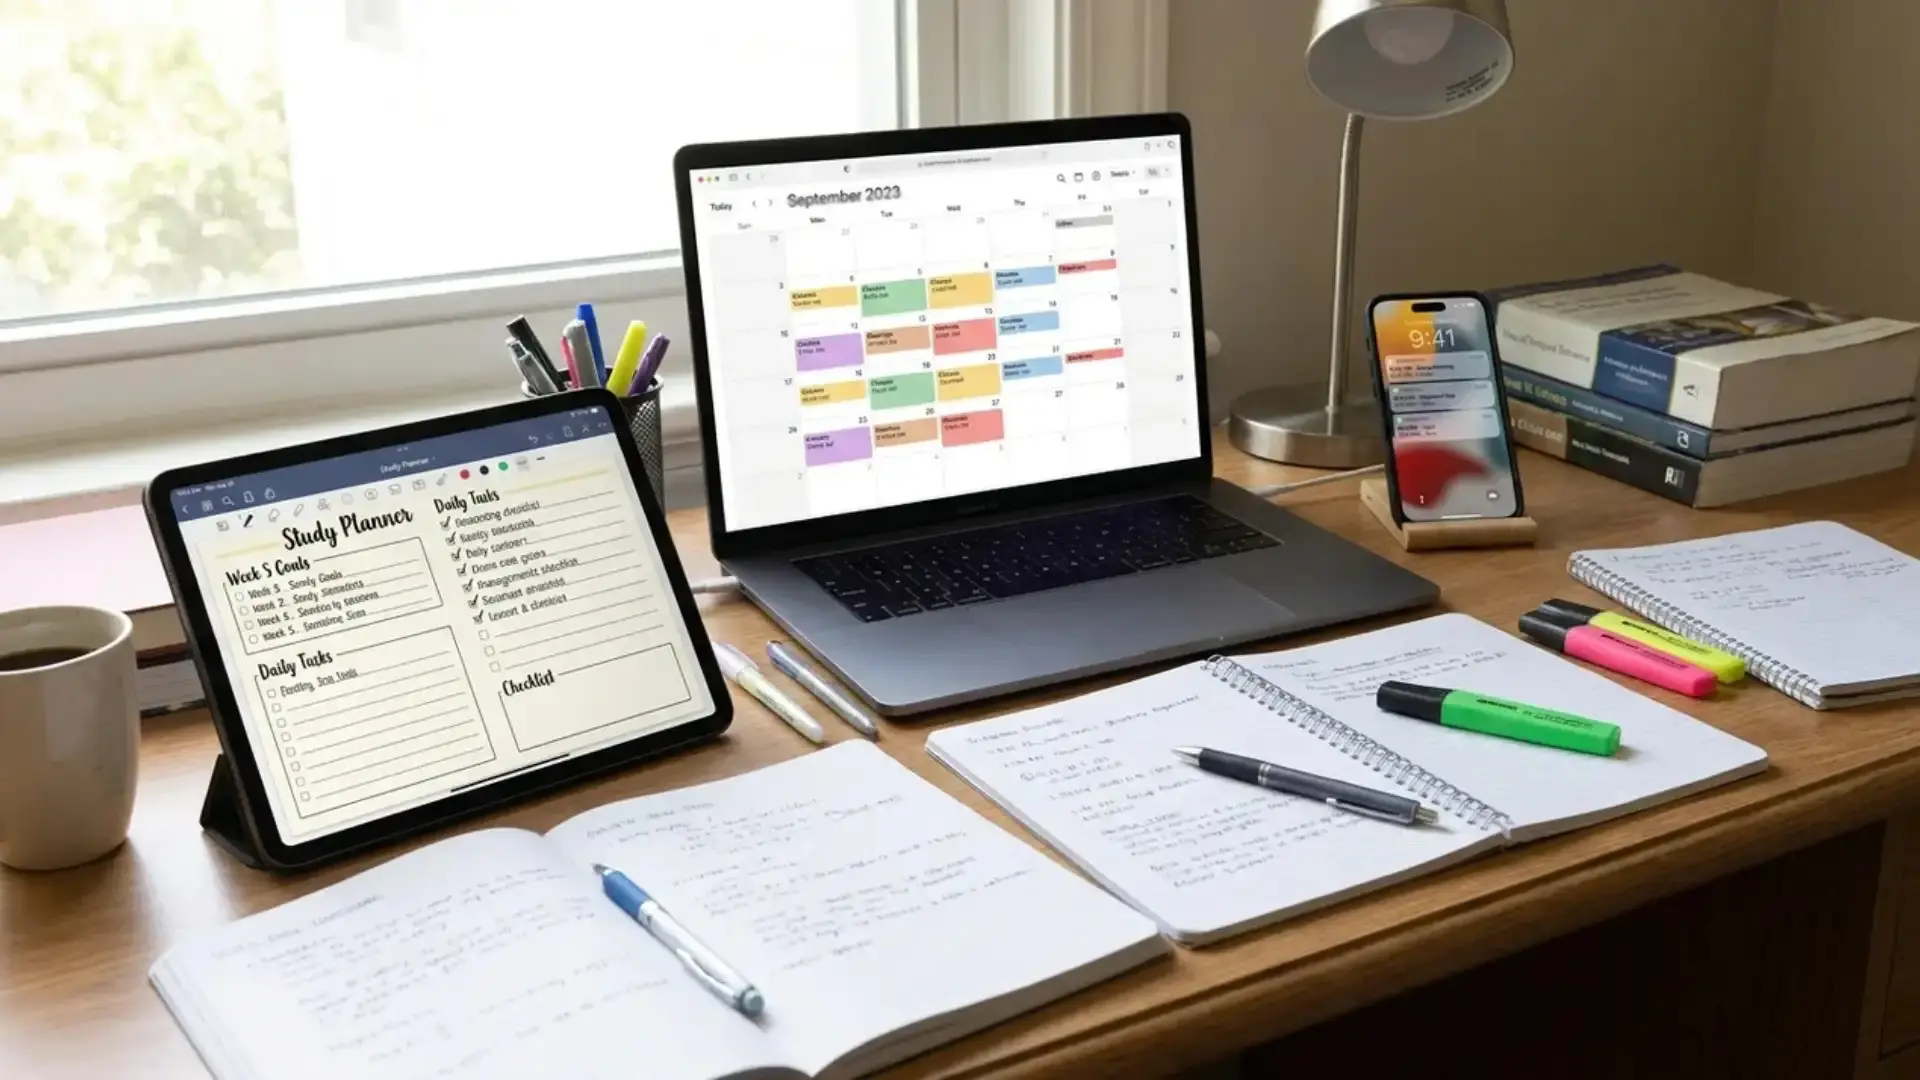
Once you know your starting point, the next task is to build a plan that fits your schedule and goals.
These steps take you from a blank calendar to a working study routine you can follow every day.
Step 1: Set Clear and Realistic Study Goals
Start by defining what you want to achieve and by when.
Use the SMART framework, meaning specific, measurable, achievable, relevant, and time-bound, to shape each goal.
Separate short-term goals, like finishing a chapter this week, from long-term goals, like passing a final exam in two months.
Clear goals give every study session a purpose, so you always know what you’re working toward instead of studying aimlessly.
Step 2: Break Large Topics Into Smaller Tasks
Large subjects feel overwhelming when you treat them as one block.
Break them into smaller, manageable tasks you can complete in a single sitting. Smaller tasks make progress easier to track and give a sense of accomplishment after each session, which keeps motivation steady throughout longer study periods.
For example, instead of “study biology,” break it into “review cell structure,” “learn photosynthesis stages,” and “practice diagram labeling.”
Step 3: Prioritize Difficult Subjects First
Tackle the hardest or most confusing subjects when your energy and focus are highest, usually earlier in the day.
Difficult topics need more mental effort and repetition, so pushing them to the end of a session often means they get rushed or skipped.
Placing them first also reduces the temptation to avoid them altogether, since easier subjects can serve as a lighter wrap-up once the hard work is done.
For example, a student struggling with calculus but comfortable with history could study calculus first thing in the morning, then move to history review in the evening when focus dips naturally.
Step 4: Decide How Many Hours You Can Study Each Day
Look at your daily routine and block out realistic study time, accounting for school, work, or other commitments.
Being honest about your available hours prevents an overly ambitious schedule that falls apart within days.
A later section covers how long you should study in more detail, but at this stage, the goal is simply to identify time you can consistently commit to.
Step 5: Schedule Study Sessions on a Calendar
Once you know your available hours, assign specific subjects or tasks to specific days and times on a calendar.
Treating study blocks like fixed appointments makes it far less likely they’ll get skipped or postponed.
Choosing the right format depends on personal preference:
Digital calendar apps offer reminders, easy rescheduling, and cross-device syncing.
A paper planner works well for those who prefer writing things down and seeing the week at a glance.
Either option turns a vague intention to study into a concrete commitment.
Step 6: Include Review Days
Set aside specific days purely for reviewing material already covered, rather than only moving forward to new topics.
Structured note-taking methods, like the ones covered in this Cornell-style breakdown above, make review days more productive because you already have a clear record of what needs a second look.
Spacing these throughout the plan helps information move into long-term memory more effectively.
Step 7: Add Practice Tests and Self-Assessment
Practice tests should appear regularly throughout the plan, not just at the end, so progress stays visible, and testing feels routine by exam day.
Timed quizzes point out which topics still need work, build familiarity with question formats, and help pace answers under time pressure.
For shorter certification timelines especially, running through practice questions early leaves enough time to fix weak spots before the actual test.
Step 8: Plan Regular Breaks
Short breaks of 5 minutes work best after every 25 to 30 minutes of focused study, following a simple Pomodoro rhythm.
After three or four sessions, take a longer break of 15 to 20 minutes to recharge before diving back in, keeping focus and energy steady through the day.
What to do in that Break:
Stretch or walk around instead of staying seated the whole time
Grab some water or a light snack to stay fueled
Look away from screens and give the eyes a short rest
Step 9: Leave Buffer Time for Unexpected Delays
Life doesn’t always follow a schedule, so build in extra unscheduled time to absorb delays, illness, or unexpected commitments.
Buffer time prevents one missed session from derailing the entire plan. Without it, falling behind on even a single day can create a snowball effect that makes the whole schedule feel unmanageable.
Step 10: Set Up a Distraction-Free Study Space
Where you study matters almost as much as when. Phone notifications, background noise, and open tabs are some of the fastest ways to lose focus mid-session.
Silence notifications or put the phone in another room during study blocks
Keep only the materials for the current subject within reach
Study in the same spot each time so the space itself signals focus
How Long Should You Study For?
Study time varies by individual because goals and subjects differ. These figures are only rough estimates, not strict rules.
The table below offers a general starting point based on common study goals:
Goal Type | Suggested Daily Study Time | Best Session Length | Break Frequency |
|---|---|---|---|
School Coursework | 1–2 hours | 25–30 minutes | Every 25–30 minutes |
Certification Exams | 2–4 hours | 30–45 minutes | Every 30–45 minutes |
Competitive Exams | 3–5 hours | 45–60 minutes | Every 45–60 minutes |
Skill or Self-Learning | 30–90 minutes | 20–30 minutes | Every 25–30 minutes |
Anyone can adjust the hours based on their own pace and how much time they have before the exam.
Study Techniques That Make Your Study Plan More Effective
A solid schedule works best when combined with proven techniques that improve how you retain information over time.
Active recall: Testing yourself on material instead of simply rereading it strengthens memory retrieval and reveals gaps in understanding early.
Spaced repetition: Reviewing information at increasing intervals over days or weeks helps move knowledge from short-term to long-term memory more efficiently.
Feynman technique: Explaining a concept in simple terms, as if teaching someone else, quickly exposes weak spots in genuine understanding.
Pomodoro method: Studying in focused 25-minute intervals followed by short breaks maintains concentration and prevents mental fatigue during long sessions.
Combining these study techniques with a structured plan makes study time more productive without requiring more hours.
Best Tools and Apps for Study Planning
The right planning tool can make it easier to organize study sessions and stay on track.
Here are some popular tools students use for study planning:
Tool | Purpose | Best For |
|---|---|---|
Schedules study sessions and sets reminders | Time blocking | |
Combines planners, tasks, and notes | All-in-one planning | |
Organizes classes, assignments, and exams | Class and exam tracking | |
Tracks tasks using boards and cards | Visual task tracking | |
Uses flashcards for spaced repetition | Long-term memorization |
The best tool is the one you use daily. Starting simple and adjusting later is better than switching apps often.
Common Study Planning Mistakes to Avoid
Even a good study plan can fail if it repeats common errors that undermine progress and motivation over time.
Packing too many subjects or hours into a day leads to burnout and shallow learning instead of steady progress.
Avoiding difficult topics for easier ones leaves major gaps that resurface under exam pressure.
A schedule with zero flexibility collapses the moment you miss or delay a session.
Long, uninterrupted sessions reduce focus and retention rather than improving them.
Moving only forward without revisiting past material causes information to fade before it’s needed for exams or assessments.
Avoiding these mistakes keeps a study plan realistic, sustainable, and easier to stick to over time.
What to Do When You Fall Behind Your Study Schedule?

Falling behind doesn’t mean the plan has failed; it just means the plan needs adjusting.
Trying to cram everything back into the original timeline often leads to rushed learning and rising stress.
Here are some quick fixes to get back on track:
Reprioritize: Focus on high-value topics that carry the most weight in exams or coursework.
Cut low-value tasks: Shorten or skip tasks that add polish but aren’t essential to core understanding.
Adjust the timeline: Extend deadlines where possible or reduce the scope of less critical material.
Combine review sessions: Merge two smaller topics into one session to cover more ground per day.
Use practice tests to guide focus: Let recent quiz scores show exactly which topics need the most time.
Small, realistic adjustments keep momentum going without triggering panic.
The goal isn’t to catch up all at once, but to get back on a manageable track and stay consistent.
How to Customize a Study Plan for Different Goals
No single study plan fits every purpose. The right structure depends on what someone is actually working toward:
Study Goal | Recommended Approach | Typical Timeline |
|---|---|---|
School Exams | Follow the syllabus, match the study plan to the academic calendar, and prioritize high-weight topics | Weeks to a few months |
Competitive Exams | Use a long-term study plan with practice tests and dedicated review time for weak areas | Several months |
Self-Learning | Set milestone-based goals and adjust pace as skills improve | Ongoing, flexible |
For long-term competitive or certification exams, dividing the timeline into distinct preparation phases, as in high school study skills, generally works better than a single extended schedule.
Frequently Asked Questions (FAQ’s)
Is It Better to Study in the Morning or At Night?
Your energy patterns influence when you’re alert; mornings work for early risers, nights suit those with quieter evenings.
How Many Days a Week Should You Study?
Most students benefit from 5 to 6 study days weekly, with at least one day off to prevent burnout and support retention.
Should a Study Plan Be the Same for Every Subject?
Subjects that require memorization need more repetition, while conceptual topics benefit from problem-solving and deeper engagement.
What Should You Do the Night Before an Exam?
Do a light review, avoid new material, get enough sleep, and gather exam essentials to reduce morning stress.
End Note!
Knowing how to create a study plan turns messy effort into a clear path forward.
Address weak spots early instead of waiting until right before an exam.
Practice tests keep progress visible, and buffer time helps handle setbacks along the way. None of this needs to feel complicated or rigid. Small, steady steps work better than rushed cramming.
A plan built around your own pace tends to hold up better than a copied one.
Share your study tips in the comments below.